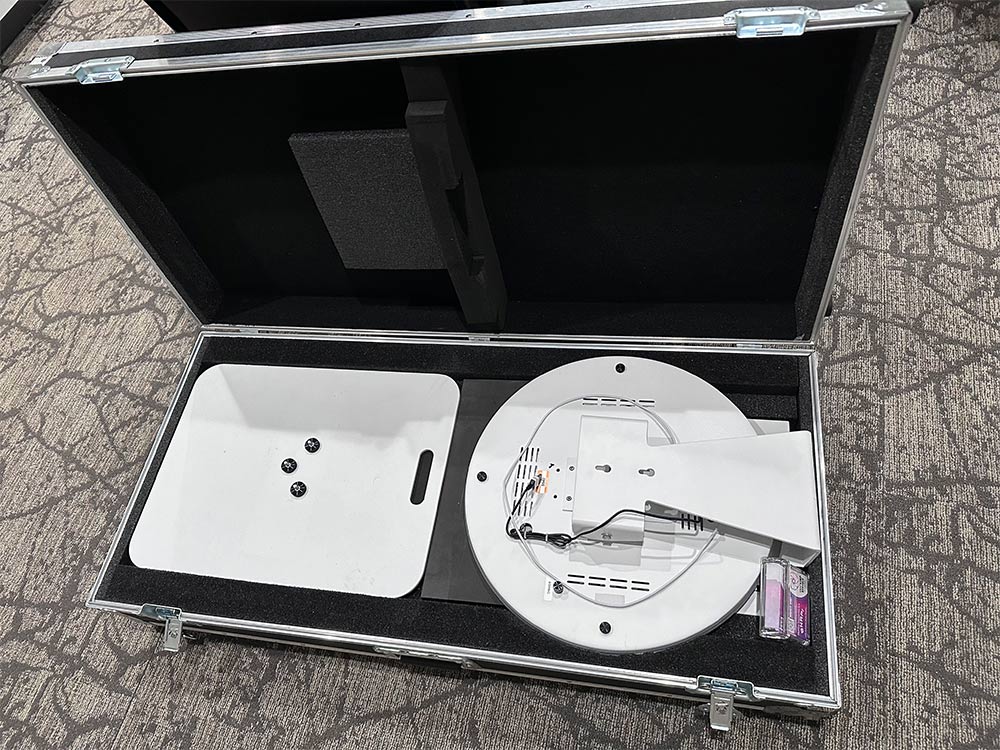
Photo Booth Assembly
Welcome to SnapStop Rentals’ assembly guide, your go-to resource for effortlessly setting up your photo booth and ensuring your event runs smoothly. Follow our simple step-by-step instructions to have your booth ready in no time, so you can focus on capturing unforgettable moments.
Assembly Guide
STEP 1
Place the Pedestal onto the base piece. Secure to base piece using three thumb screws

STEP 2
Secure top piece bracket to top of pedestal, using three thumb screws
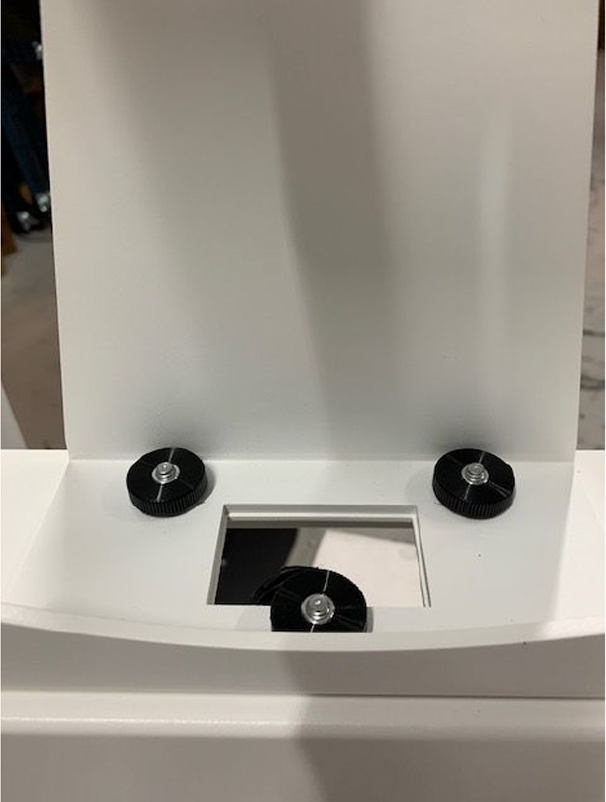
STEP 3
Run three cables out of back of top piece and into pedestal (Ring light power, RGB power and iPad power cable.
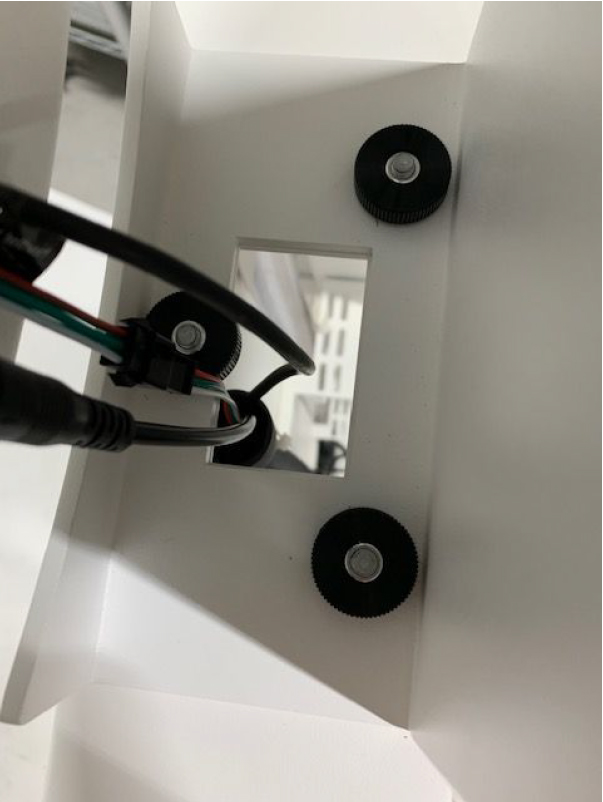
STEP 4
Plug iPad charging adapter into power strip, plug iPad charging cable into adapter.
There are three lighting controls:
- Rotary dial on back of top piece. This provides a dimmable pure white light around the ring light
- Small remote on back of top piece. This provides variable RGB and effects around the ring light and down the pedestal.

STEP 5
Turn the iPad on and connect it to your internet. Then, open the Curator app.

STEP 6
If this notification pops up, click cancel.

STEP 7
Your event should appear at the top of the page and be green. Click the cloud download icon.

STEP 8
Once it has loaded again, click the red play button. Select photo booth mode. Your event is ready to go!

Remote Control Instructions

Packing
Remove the business cards by sliding the case straight up and place the body of the unit in the case.
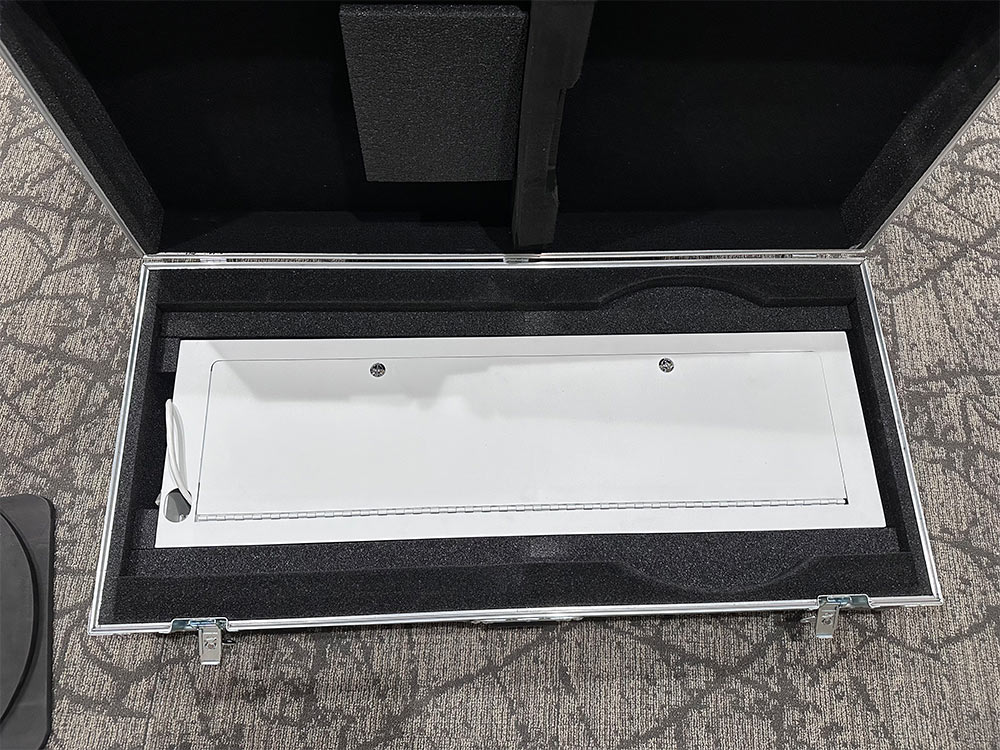
Then add the square cushion over the body.
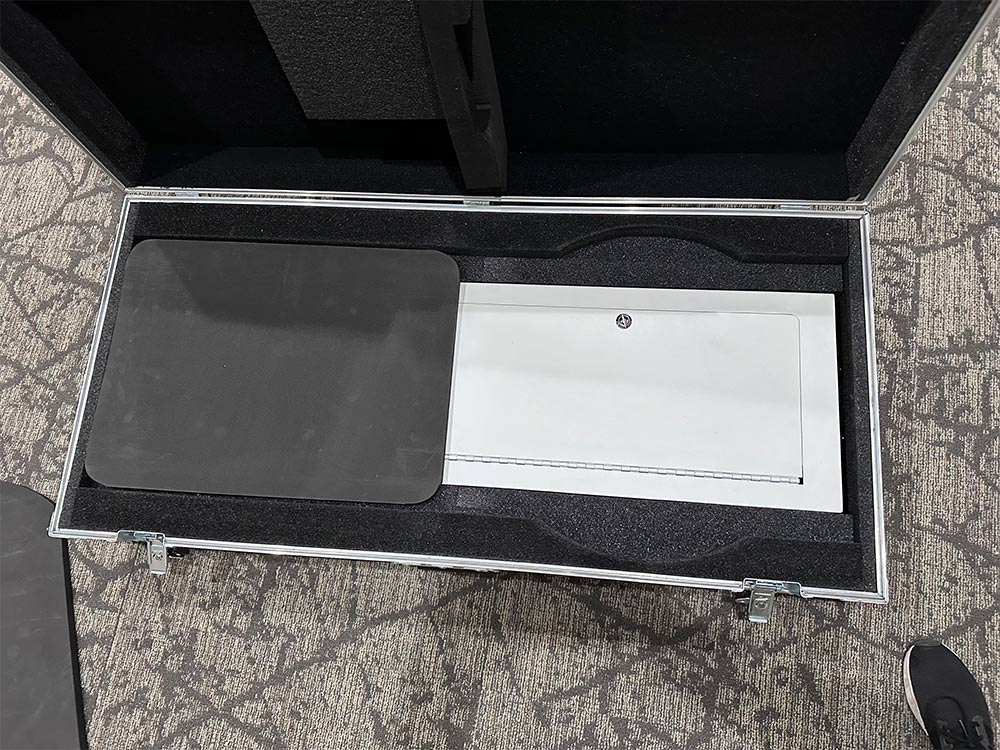
Add the base on top of the square cushion.

Add the rounded cushion over the body.
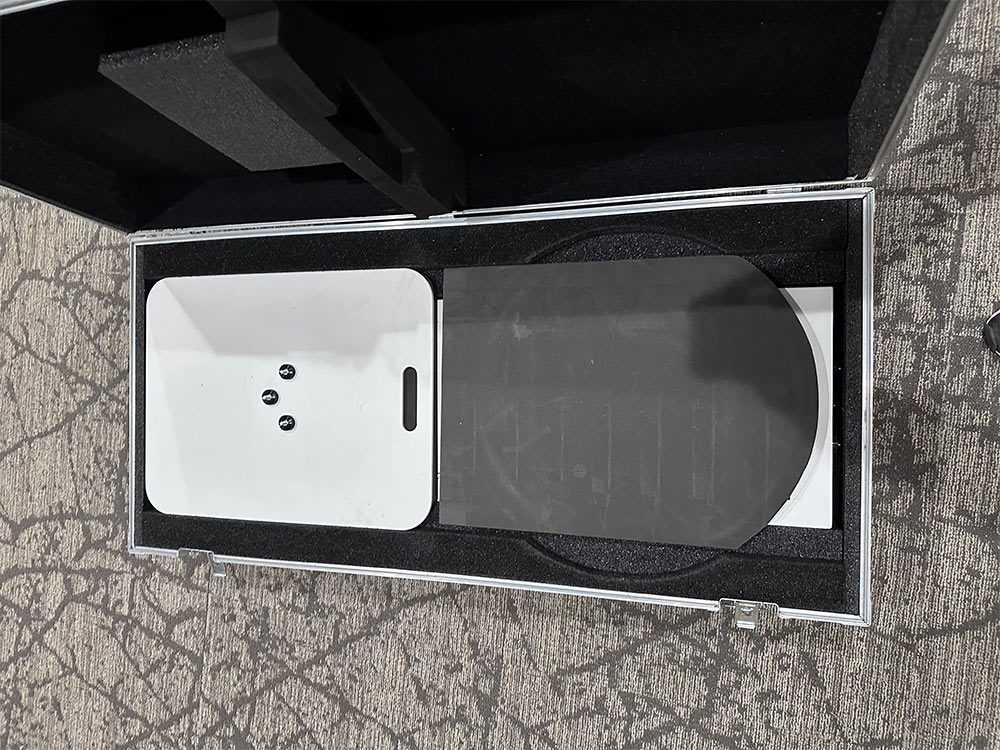
Add the top piece face down, with the base of the top piece toward the edge of the case. Add the business card case next to it.
